FinalOutput from Jeff Chen on Vimeo.
Sunday, 9 January 2011


Particle System
This is the first particle test that I did to find out how to create a particle system and keep the particles within a container.
I did this test to see how the particles react with the container when it is being scaled. This way I can scale up the logo from the start and give the illusion of the camera being surrounded by particles and they started to form the logo as the music goes on.
I created this mesh from the illustration file of the logo and 'emit particles' from each letter and 'make collide' the particles with the mesh so they are contained within the mesh. This way if I scale up the mesh from start and scale it down, it will feel like the camera is surrounded by particles and they started forming the logo.
This is also a great test for the particle system as I tried to use different methods to emit particles. Letter A and S were both created via 'emit from object' and 'make collide' the particles with the mesh. Letter R on another hand, was created via a CV curve that I created inside the letter mesh and through 'emit from curve'. Letter T was simply a particle emitter and 'make collide' with the mesh as well. After these tests, I decided to generate particles from the mesh itself since all particles could generate simultaneously and form the entire logo within a similar amount of time.
This is also a great test for the particle system as I tried to use different methods to emit particles. Letter A and S were both created via 'emit from object' and 'make collide' the particles with the mesh. Letter R on another hand, was created via a CV curve that I created inside the letter mesh and through 'emit from curve'. Letter T was simply a particle emitter and 'make collide' with the mesh as well. After these tests, I decided to generate particles from the mesh itself since all particles could generate simultaneously and form the entire logo within a similar amount of time.
I put the mesh into a display layer and hide it, so we will only see the particles forming the logo.
LightOrb
In order to create the light orbs I mentioned in the storyboard. I decided to project the spotlight with colour curves onto a sphere and by key-framing the position of the spotlight, I was able to change the colour of the orb. I then rendered out the colour as a tiff sequence, which is ready to be placed into a particle system via "particle instancing".
However, due to the change of position of the spotlight, the size of the orb seems vary unstable. Also that there is not a lot of controls of the look of the glowing effect by projecting the light onto a sphere.

As a result, I decided to keep the spotlight stationary as the light is being projected onto a lambert plane. I then key-framed the plane to approach the light and key-frame the cone of angle of the spotlight at the same time to keep the shape of the orb constant shown above. This method works better than the previous ones in my opinion.


Above images are renders of various key-frames, which I set in order to keep the size of the light orb image constant and also the colour variation.
Material Test with Light

With the spotlight and its colour curve I previously created, I placed in some simple geometries with various mental ray materials to see how they react with light under Global Illumination. I used a dsg material for the mirror wall, the orb and the logo. Also a car paint node for the cylinder in the back. I played around with transparency, reflectivity and various other attributes of the materials to get a nice looking result. However, the render time is very long using this method.


Subscribe to:
Comments (Atom)
Film Countdown

Entry sequence?
Old School Cinema

Suggests history and shows improvement over time as the quality improves on screen.
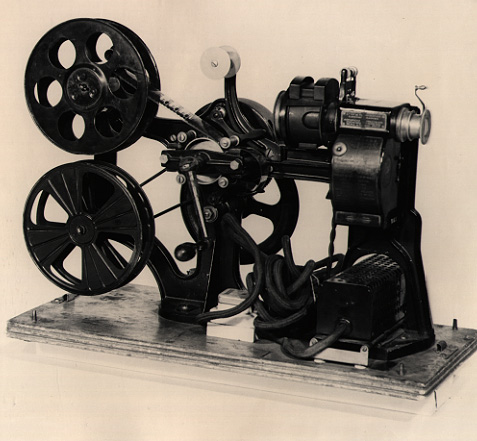
Old School Projector
3D Model in Maya?
Light and Shadow Projection

Form imagery with the light and shadow via projection.